
Hair How To: Chunky Loc Twists

Howdy People,

Here's a quick and easy Loc do that I thought to share while trying out vloging again. I think this video is less shy than the last one I did. I honestly have been too lazy to try video editing, so yes, I did this in one take and I'm proud :D

I forgot to mention in the video that Kemi Lewis of KL'sNatural inspired this hair style. She came by the Locitude Studio in fabulous Chunky Twists made from Marley hair using the Crotchet method. I decided to try it out with my own hair and I totally loved the results.


Rocked the Chunky Loc Twists for about a whole week. Finding the perfect angle for the perfect selfie isn't always easy so I fooled around with my camera for a bit and I the pictures below are probably my best of about 15 X_X.
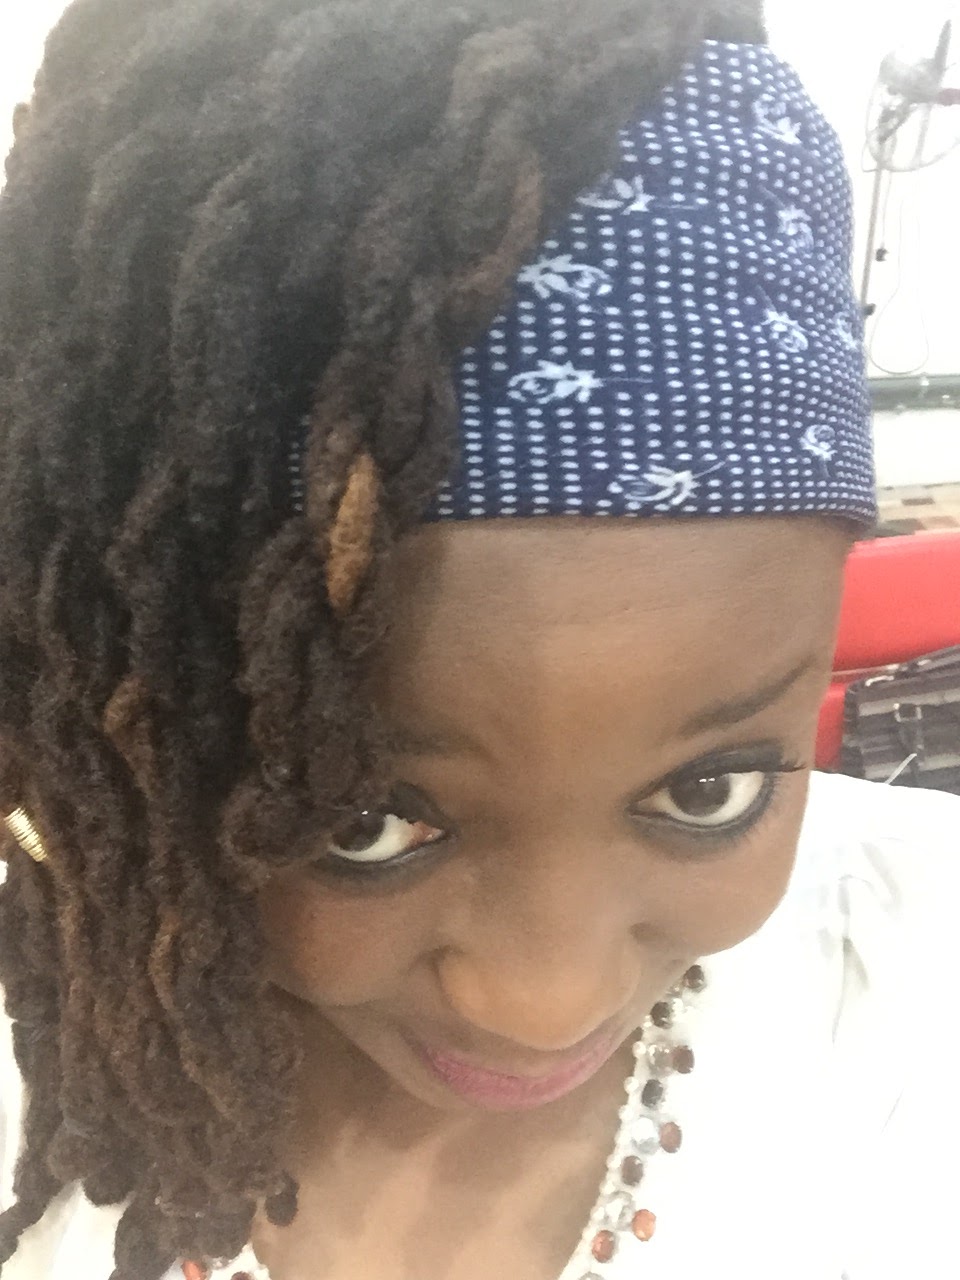
Chunky Loc Twists

Chunky Loc Twists and the Eye.

Chunky Loc Twists.


I'm tempted to write some more, but I guess that will just be repeating what I said in the video. This is it fellas, tell me if you like my Chunky Twists, don't tell me if you don't and if you try it don't forget to tag me.

Till later,

Your Loc Head,

Ade.

Comments

Popular posts from this blog

Hair How To: The Duo Buns with inverted top bun

Happy Sunday beautiful people, Excited to show you another loc-do how to. As usual, I posted the picture below on the Locitude Instagram page and I got a few comments suggesting I replicate it. I thought to myself challenge accepted! The loc-do looks like two donut buns, which is supposedly simple but note that the top bun is inverted. So let's take care of the easy part first. I've always known how to do a donut, but just incase you don't know how, I found a video (below) that shows you how to get the perfect donut bun. Now that we are done with the basics of how to get a donut bun let's do a step by step on how to get the full loc hairstyle: 1. Part your locs in two sections to form the two buns, sections should be similar to the picture above; 2. Do a donut bun on the rear section. 3. Set aside some locs on the perimeter of locs for the top bun. 4. Leaving the locs that have been set aside do another donut bun on the top of your head. 5. ...

7 Locitude #LocInspiration Hair Styles for Short Locs.

Hello Loc Heads, This one is obviously for fellow loc heads in the awkward phase of their locs. The awkward phase is usually sometime around Day 1 - Year 2; when your head is full of scalp after a fresh re-twist and your locs seem too scanty, when your hair unravels after a fresh re-twist before you say can say Jack Robinson; when you think water is your worst enemy because it's preventing your locs from forming; when you are having a bad hair day and you feel like - Oh God if only I could get my hair into a ponytail it would do. I can go on and on... but instead I present you with 7 Style Ideas for short locs. #LocInspiration no. 1: Loc loops or Loc petals. Reminds me of a cropped hair cut, this style looks classy and elegant. Can be worn to an event. It's also neat and can help with a more serious/subtle look. #LocInspiration no. 2: Pinned Up side. Even though it is just pinning up one side of your locs, it always make a difference. A touch Style. You can use ha...

Hair How To: Loc Loops/Petals in 4 easy steps.

Hello, #TGIF #ItsTheWeekendBaby #PhotoShootModeActivated #Locitude #HairHowTo #LocsAndAttitude #LocWorkshop #ComingSoon #OkReadBelow. I'm obviously excited, payments for my shipment on brand new dada products stock has finally gone through (It is not easy to be a Nigerian #That'sAll), now waiting for the products to get here. I hope it doesn't take forever. I found this FREE accounting app called waves app, which is helping keep my spend together. I usually get excited when I learn new stuff, so yaaaayi. Seems this hobby is becoming a business sooner than I imagined. Sorry back to the Loc loop Tutorial... Step 1: Select two strands of locs close to each other. (You can use only one strand of loc only or 3-4 depending on how thick your locs are) Step 2: Take the ends of your strands, fold them towards the roots making a loop Step 3: Fasten the base of the loop with a tiny rubber band. Make sure it's not too tight. Step 4: Style to your taste ...